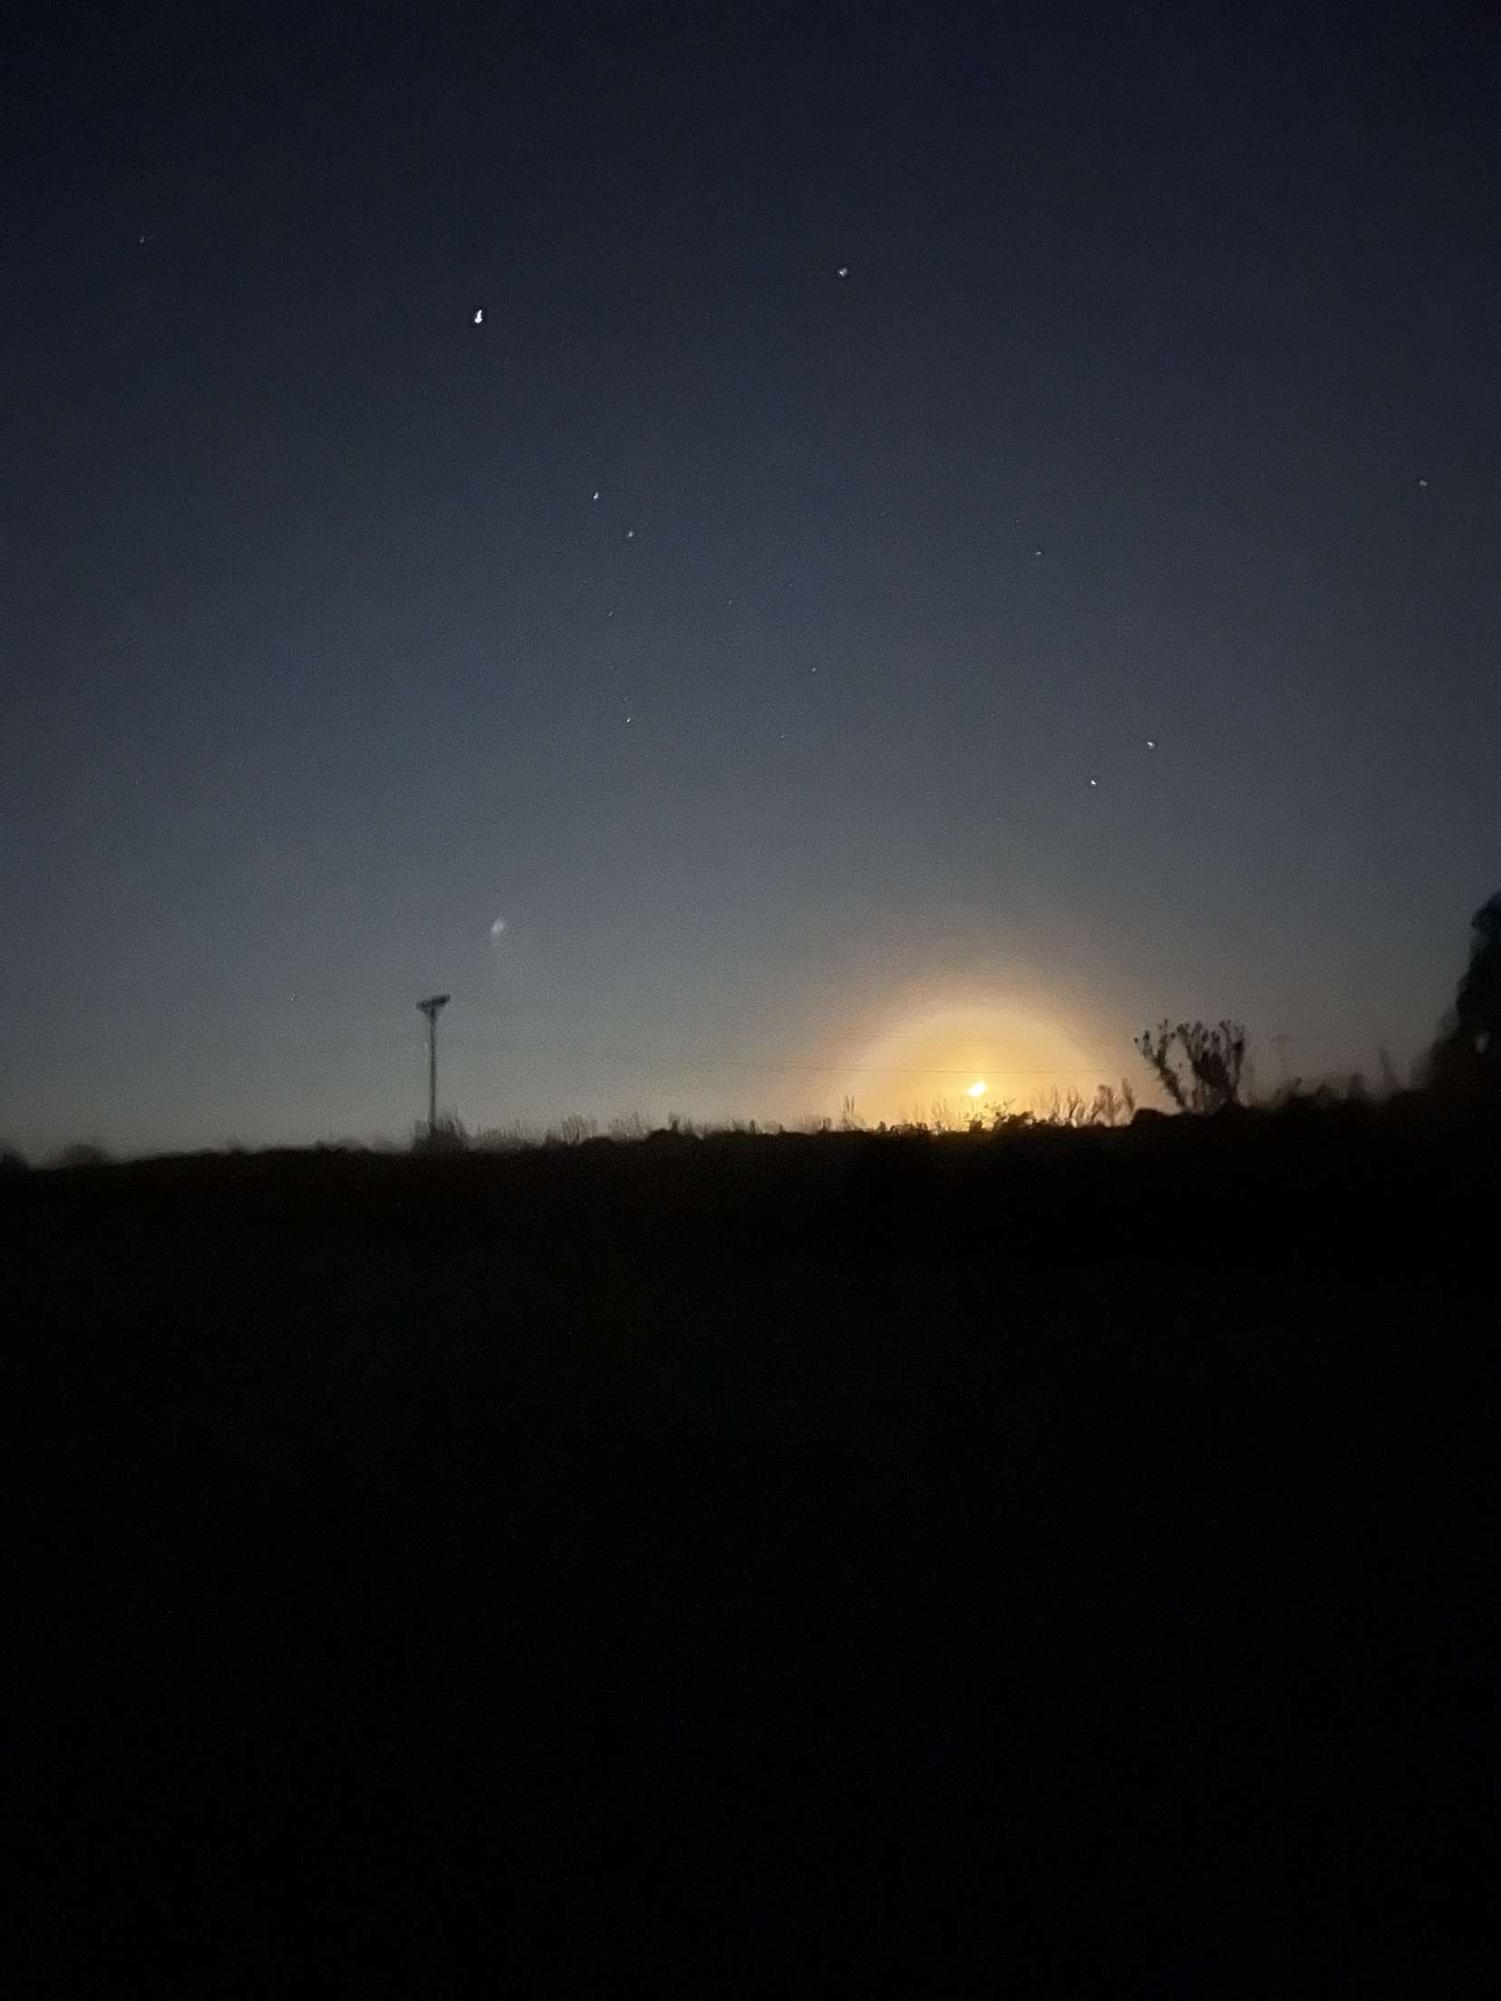
A cool breeze floats across your face. The air is crisp, filling your nose, and numbing your fingers. As you tilt your head, ready to gaze upon that star-studded inky void, you see … absolutely nothing.
Why? Because you’re either trying to look at the stars from Brentwood, or you just don’t know how to start. But don’t worry! I’m here to walk you through some important steps to having a successful stargazing experience.
People tend to romanticize the idea of stargazing. And, yes, it 100% can be a spontaneous, low-work date idea just to go stargazing. But for those who want to get the most out of it, a little preparation goes a long way!
1. Check the sky
Before you go stargazing, spend a bit of time researching what the sky is predicted to look like on the night you want to go. You want to take a lot of things into account when picking a night. Is it going to be cloudy? How dark is it going to be? What’s the transparency? Is it going to be cold? All of these things will affect how you see the sky. To find the answers to these questions, I go to my favorite website, Clear Dark Sky. Here, you will find information on topics such as cloud coverage or even what time you should actually begin your stargazing. It is so beginner-friendly with its information presented in an easy-to-read chart with in-depth explanations for everything.
2. Pick a location
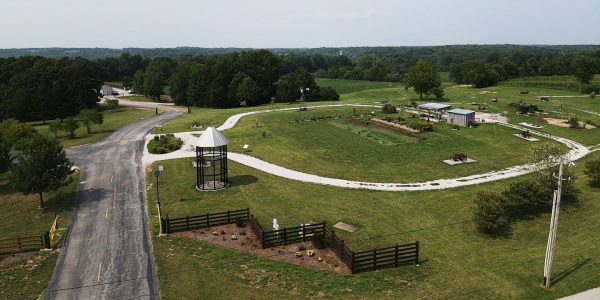
Image credit: https://www.sccmo.org/617/Broemmelsiek-Park
Location is one of the top contenders affecting whether you are going to have a good view or not. You want to be in an open area, away from a lot of trees, and far from light pollution. If you are looking for a great spot to go, one of my personal favorites is called Broemmelsiek Park. About 35 minutes west of Brentwood, this park has so many cool features. A while back, I took some of my friends there, and we explored the expansive park grounds. There is a cool “agriculture education” garden filled with different plants, old farm equipment on display, places to sit and picnic, a nice playground, and even some beehives! After it got dark, we headed over to the park’s very own astronomy viewing area. It’s a serene area, dark and open, with concrete pads on the ground in case you want to set up and plug in a telescope. If you are looking for a good view but don’t want to drive an hour away, this is the perfect option for you.
Senior Walter Torres is also a fan of this park, having been there a couple of times. “The actual park itself was really nice, and everything looked untouched. I loved how quiet [the astronomy viewing area] was; you could hear all the bugs around you,” recounts Torres. “I was mesmerized by the sky out there; a lot of people don’t take that time to look at the sky, but seeing how open the sky seemed was a magical experience.”
3. Stay away from lights
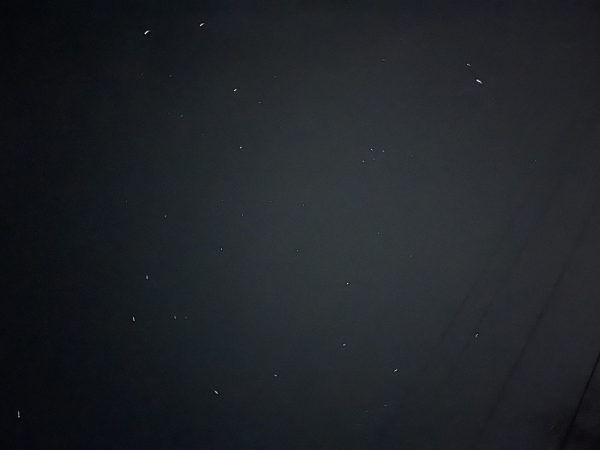
When you reach your location, allow your eyes 20 minutes to rest and adjust to the darkness. Avoid using phones or flashlights, as this will undo all that hard work to get used to the dark. If you need to have light, a great alternative is using red light, as it will not harm your night vision. Some headlamps and flashlights have a setting for that, but a good DIY alternative is putting red plastic over your phone flashlight.
4. Bundle up!
As we get into the winter months, the temperature is going to keep dropping. Bringing lots of blankets and wearing layers will help keep you safe and warm outside, and make sure you can stay out there the whole time; you don’t want to miss anything!
Stargazing is such a fun activity, and I encourage everyone to get outside and look up!


